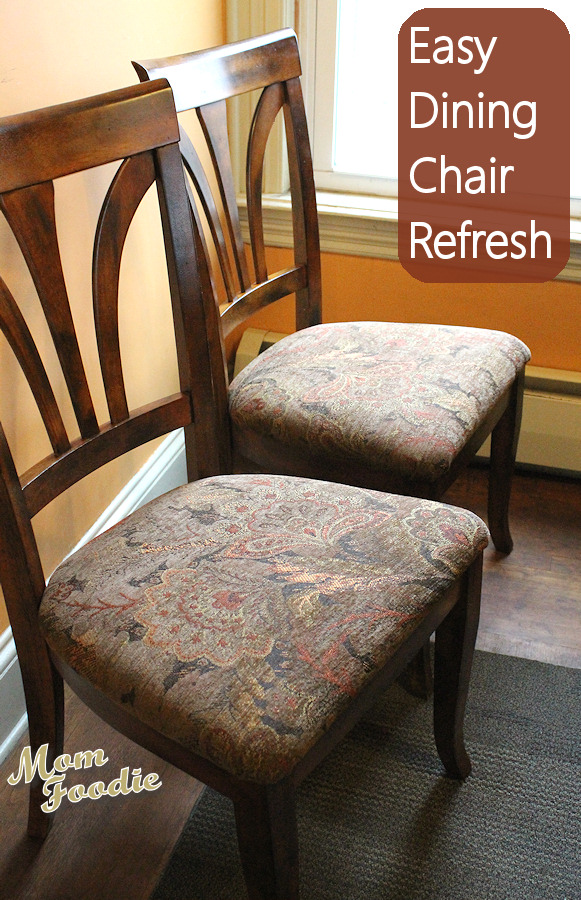
How To Renovate Old Chairs

How To Renovate Old Chairs
Step 1: Prepare the Chair
Before you start any renovation project, it’s important to make sure your piece is clean and free of dirt and dust. If you’ve got an old chair that’s been sitting in a damp basement for years, you’ll need to give it a good cleaning before you can begin to work on it. Start by wiping down the chair with a damp cloth to get rid of any dirt and debris. You may want to use a vacuum or a brush attachment to get into hard-to-reach places. Once you’ve got the chair looking its best, you’re ready to move onto the next step.
Step 2: Repair Any Damage
Now that your chair is clean and dust-free, it’s time to take a look at any damage it may have. It’s not uncommon to find cracks, breaks, and other signs of wear and tear on an old chair. If you’ve got a few minor issues, you may be able to repair the chair yourself with some wood glue and a few clamps. If you’ve got more serious damage, you may want to consider taking the chair to a professional furniture restorer. Either way, it’s important to make sure the chair is structurally sound before you start the renovation process.
Step 3: Sand the Chair
Once the chair is clean and repaired, it’s time to start sanding. Start with a medium-grit sandpaper and work your way up to a fine-grit sandpaper. The goal here is to remove any old finish and smooth out any rough edges. Make sure to sand with the grain of the wood, not against it. A good rule of thumb is to sand until the wood is smooth to the touch. This will help you get an even finish when you start to paint or stain the chair.
Step 4: Choose a Finish
Now that your chair is sanded and ready to go, it’s time to decide on a finish. You have a few options here. If you’re looking for a more modern look, you can opt for a painted finish. If you’d prefer a more classic look, you can stain the wood. You can also choose to leave the chair unfinished if you’d like. Whichever option you choose, make sure to use a good quality paint or stain to ensure a long-lasting finish.
Step 5: Apply the Finish
Once you’ve chosen your finish, it’s time to apply it. Start by applying a thin layer of paint or stain with a brush or a rag. Make sure to go with the grain of the wood and don’t go over the same area too many times or you’ll risk leaving streaks. Once you’ve applied the finish, let it dry for a few hours before you move onto the next step.
Step 6: Seal the Finish
The final step in the renovation process is to seal the finish. This will help protect the finish and make it last longer. You can use a clear sealant or a topcoat of paint or stain. Whichever you choose, make sure to apply it in thin coats and let it dry between coats. Once you’re done, your chair should be ready to use.
just to remind me to renovate my old chair. | Dining chairs, Old chair

Country Grey Chalk Paint Chair Makeover with Bird Fabric | Girl in the
Pin by Tamra Rakoczy on Bohemian Chic Decor | Chair, Vintage house

Restored and painted Ercol Windsor chairs | Ercol furniture, Dining

Reupholster Dining Chairs: Easy DIY project
